Introduction
VS Code, known for its versatility and efficiency, offers a solid foundation for developers thanks to its ease of use and extensive expandability. Together with PlatformIO, a powerful duo is created that not only simplifies the programming of microcontrollers, but also significantly accelerates it. PlatformIO extends VS Code with an integrated development environment (IDE) that is specially optimized for the needs of microcontroller programming. This combination supports a wide range of boards and offers seamless integration with various frameworks and libraries, making it an indispensable tool for modern developers.
Installation
You can download the VS Code programming environment under Visual Studio Code.
Installation is straightforward and the application is quickly ready for use.
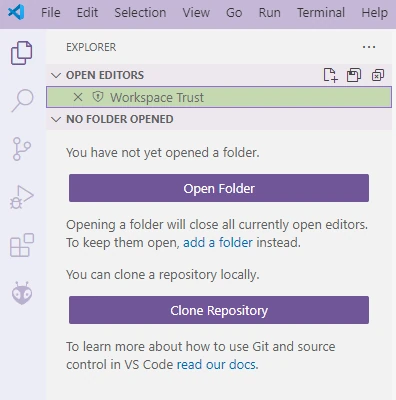
Initially, the interface appears rather empty, which we want to change quickly.
PlatformIO – Install extension

The icons explained:
Please click on the “Extensions” icon at the bottom. Enter the search term PlatformIO in the search field and install the extension.

if you have not yet installed PlatformIO, you will of course see “Install” instead of the blue “Uninstall” button.

As soon as PlatformIO is installed, you will see another icon on the left, which you click on. Please select “Create New Project”.
Here you select “+New Project”


Please enter the name of your project under Name.
The best way to specify the board from a large selection is via the search (here NodeMCU for an ESP8266). If you have set up a location for your programs, please deselect the blue tick behind Location and set the path.
Click Finish to create your project.
As a rule, the “platformio.ini” is displayed after the project has been created. Please make sure that you add another entry here so that your selected speed of the serial interface corresponds to the one specified in the program code.

Please make sure that you have also downloaded and installed the driver “CP210x_Universal_Windows_Driver”. This will ensure that the board is recognized at the USB port and is also assigned as a COM port in the device manager.
I wish you every success with the set-up and would be happy to share your experience of how you got on with these instructions.
