What is XAMPP?
XAMPP is a free, open-source development environment that allows you to create and test web projects locally on your computer. The name “XAMPP” stands for the combination of the following software packages:
- X – Cross-Platform
- A – Apache (Webserver)
- M – MySQL/MariaDB (Database)
- P – PHP (Serverseitige Skriptsprache)
- P – Perl (Programming language)
These components are the basis for most modern web applications. XAMPP bundles this software into a single package to make it easier for you to set up a local web server environment.
Why use XAMPP?
XAMPP is especially useful for developers who want to test web applications or websites locally before uploading them to a live server. Here are some advantages of using XAMPP:
- Easy installation: XAMPP offers a simple and user-friendly installation routine that allows you to install all the necessary components at once.
- Cost-effective: XAMPP is free and open-source, which makes it an attractive option for developers.
- Cross-platform: It is available for various operating systems such as Windows, macOS and Linux, so you can choose the development environment to suit your system.
- All-in-one solution: The combination of Apache, MySQL, PHP and Perl in one package makes it easy to create a complete development environment without having to configure each component separately.
Installation:
- Download XAMPP from the official website: apachefriends.org.
Follow the download instructions for your operating system. - Search for your installation package, e.g. for Windows – from https://sourceforge.net/projects/xampp/
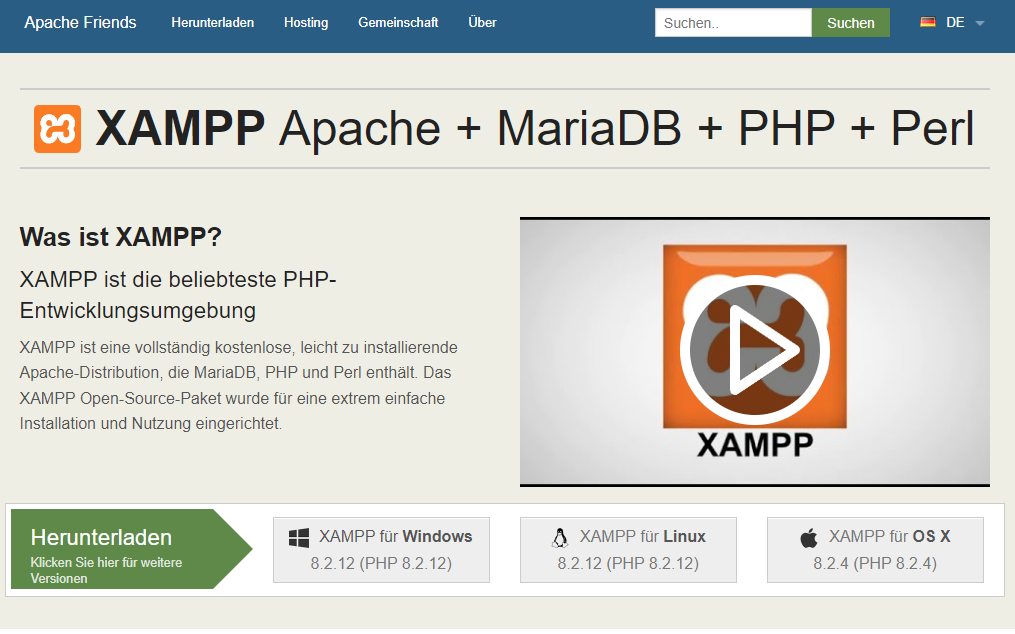
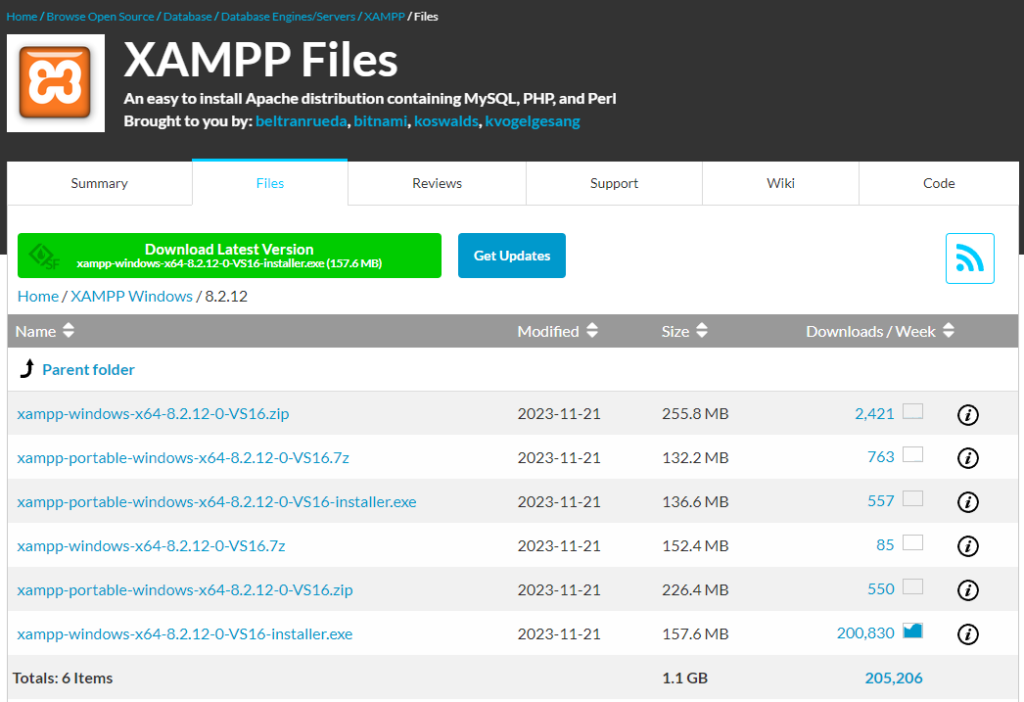
It is quite possible that you are receiving messages from the Windows firewall. You can confirm this.
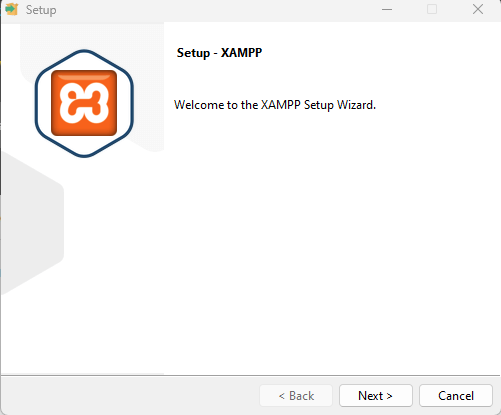
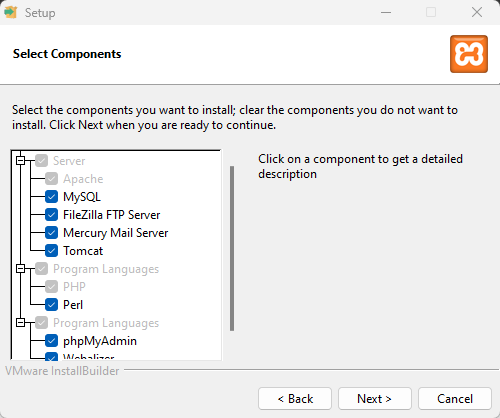
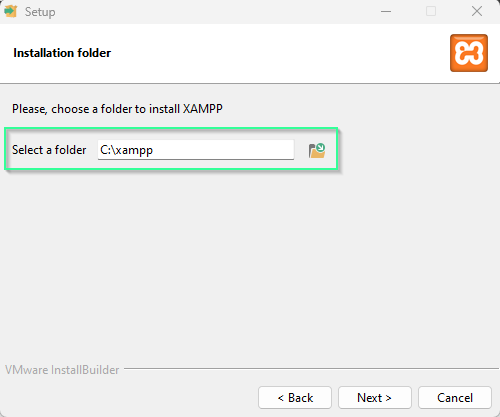
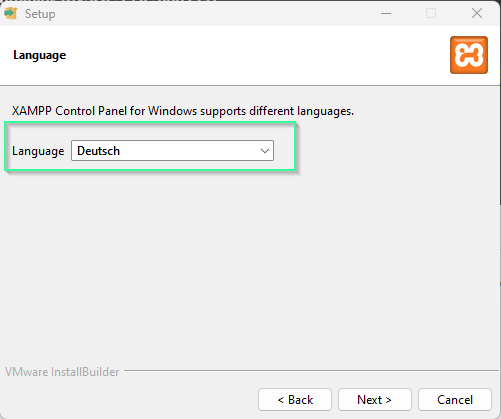
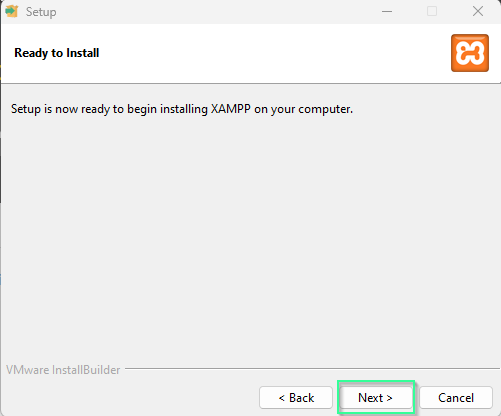
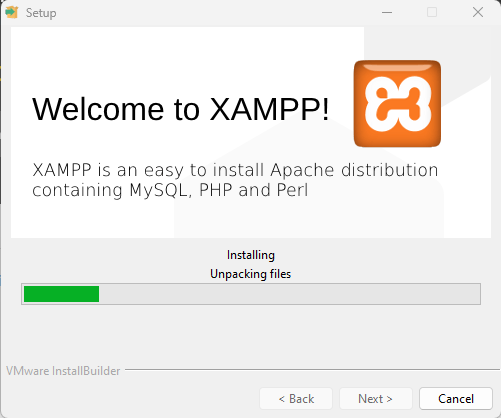
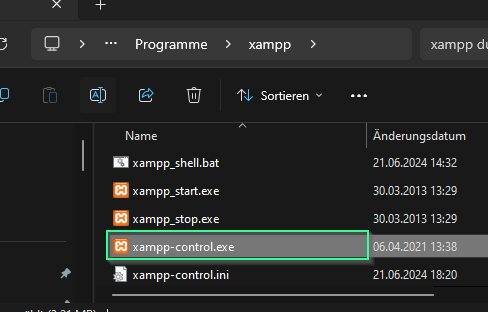
After completing the installation, please go to the installation directory via file explorer and open it.
You will find xampp-control.exe in the xampp directory.
Please start that.
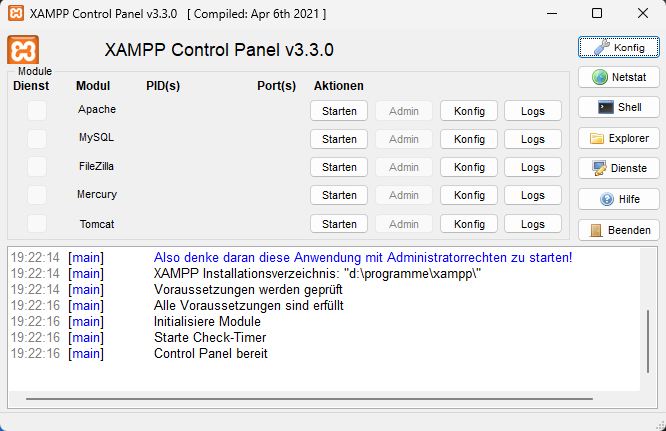
On the left you can see the XAMPP control panel after the start. We need the Apache and MySQL modules. If you click on the “Start” buttons one after the other under Actions, you will see the result on the right. If you get a message that rights are missing, start the exe again with “Run as administrator”
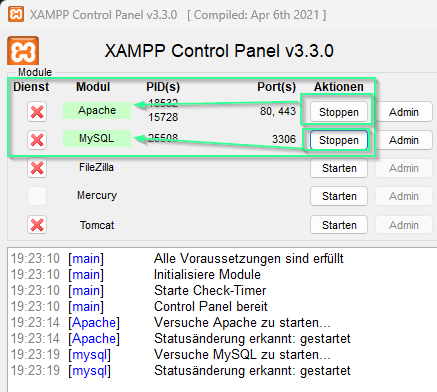
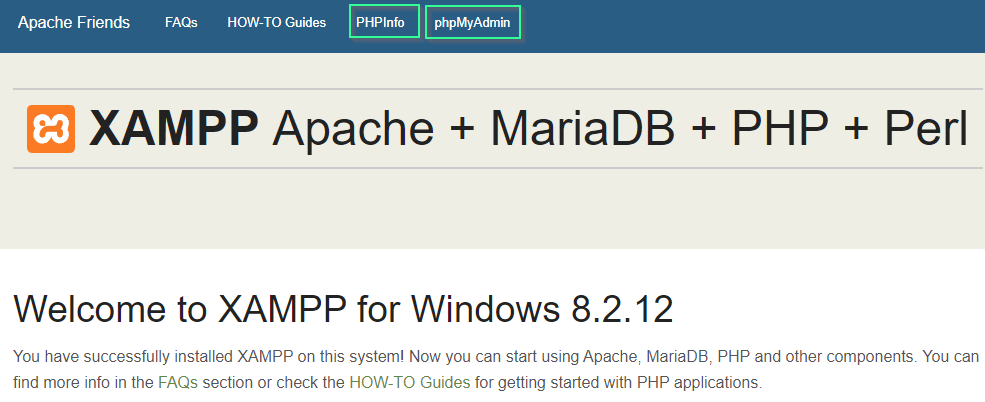
To check whether your installation is working, leave the modules running, switch to a browser of your choice and enter “localhost” in the address bar. Here I explain exactly what the localhost is.
If everything worked, you’ll get this!
In the next post, I’ll explain how to create your first database with phpMyAdmin.
And here we are again at the end of a DIYTechAdventure. Please write me a comment telling me how you liked this tutorial.
